Software • Windows • Windows 10 • Windows 8 Best Free Photo Editing Software For Windows 11 months ago2 Comments
Apple • Emulator • Windows • Windows 10 • Windows 8 Top Best iOS Emulator For Windows Pc Laptop To Run iOS 11 months ago1 Comment
How To • Windows • Windows 10 5 Ways To Fix Start Menu or Start Button Not Working On Windows 10 11 months agoAdd Comment
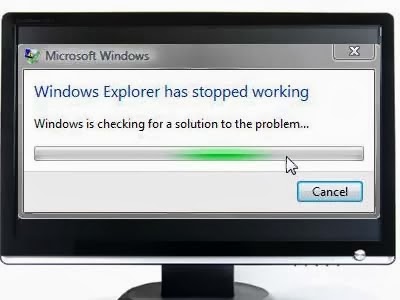
Computer Tricks • Windows How to Fix Windows Explorer Has Stopped Working in windows 7/8/8.1 11 months agoAdd Comment
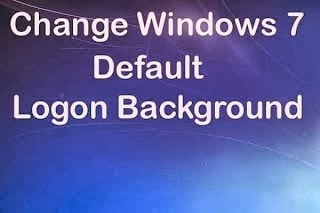
Computer Tricks • How To • Tools • Windows How to Change Windows 7 Default LogIn screen or Boot screen ? 11 months ago1 Comment