Category - Computer Tricks
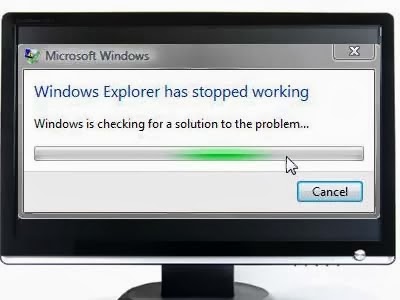
How to Fix Windows Explorer Has Stopped Working in windows 7/8/8.1
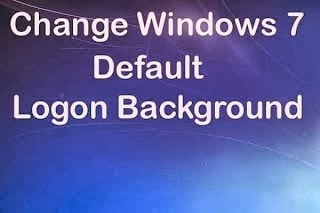
How to Change Windows 7 Default LogIn screen or Boot screen ?

How to Convert FAT32 to NTFS without Formatting?
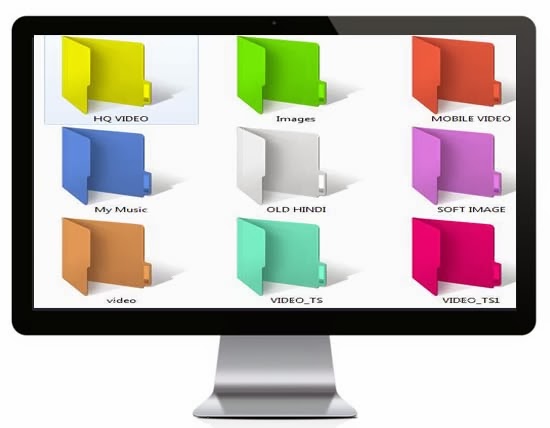
How to Colorize Folder with Different Colors on your Windows Computer?